Wednesday 13 July 2016

First Impressions! Born Pretty Clear Jelly Stamper

I've been wanting to buy this Born Pretty stamper for a very long time. I finally took the plunge about a week ago and splurged a whole £2.99 on it! I know what you're thinking...hey big spender.

I don't know about you, but my Instagram feed is full of stamping tutorials with clear jelly stampers, so I thought it was about high time I tried it out for myself. I chose this Born Pretty stamper thanks to a great recommendation by the lovely Nailasuarus.

Here's what it looks like: It comes as a two piece set complete with scraper. More pics below.
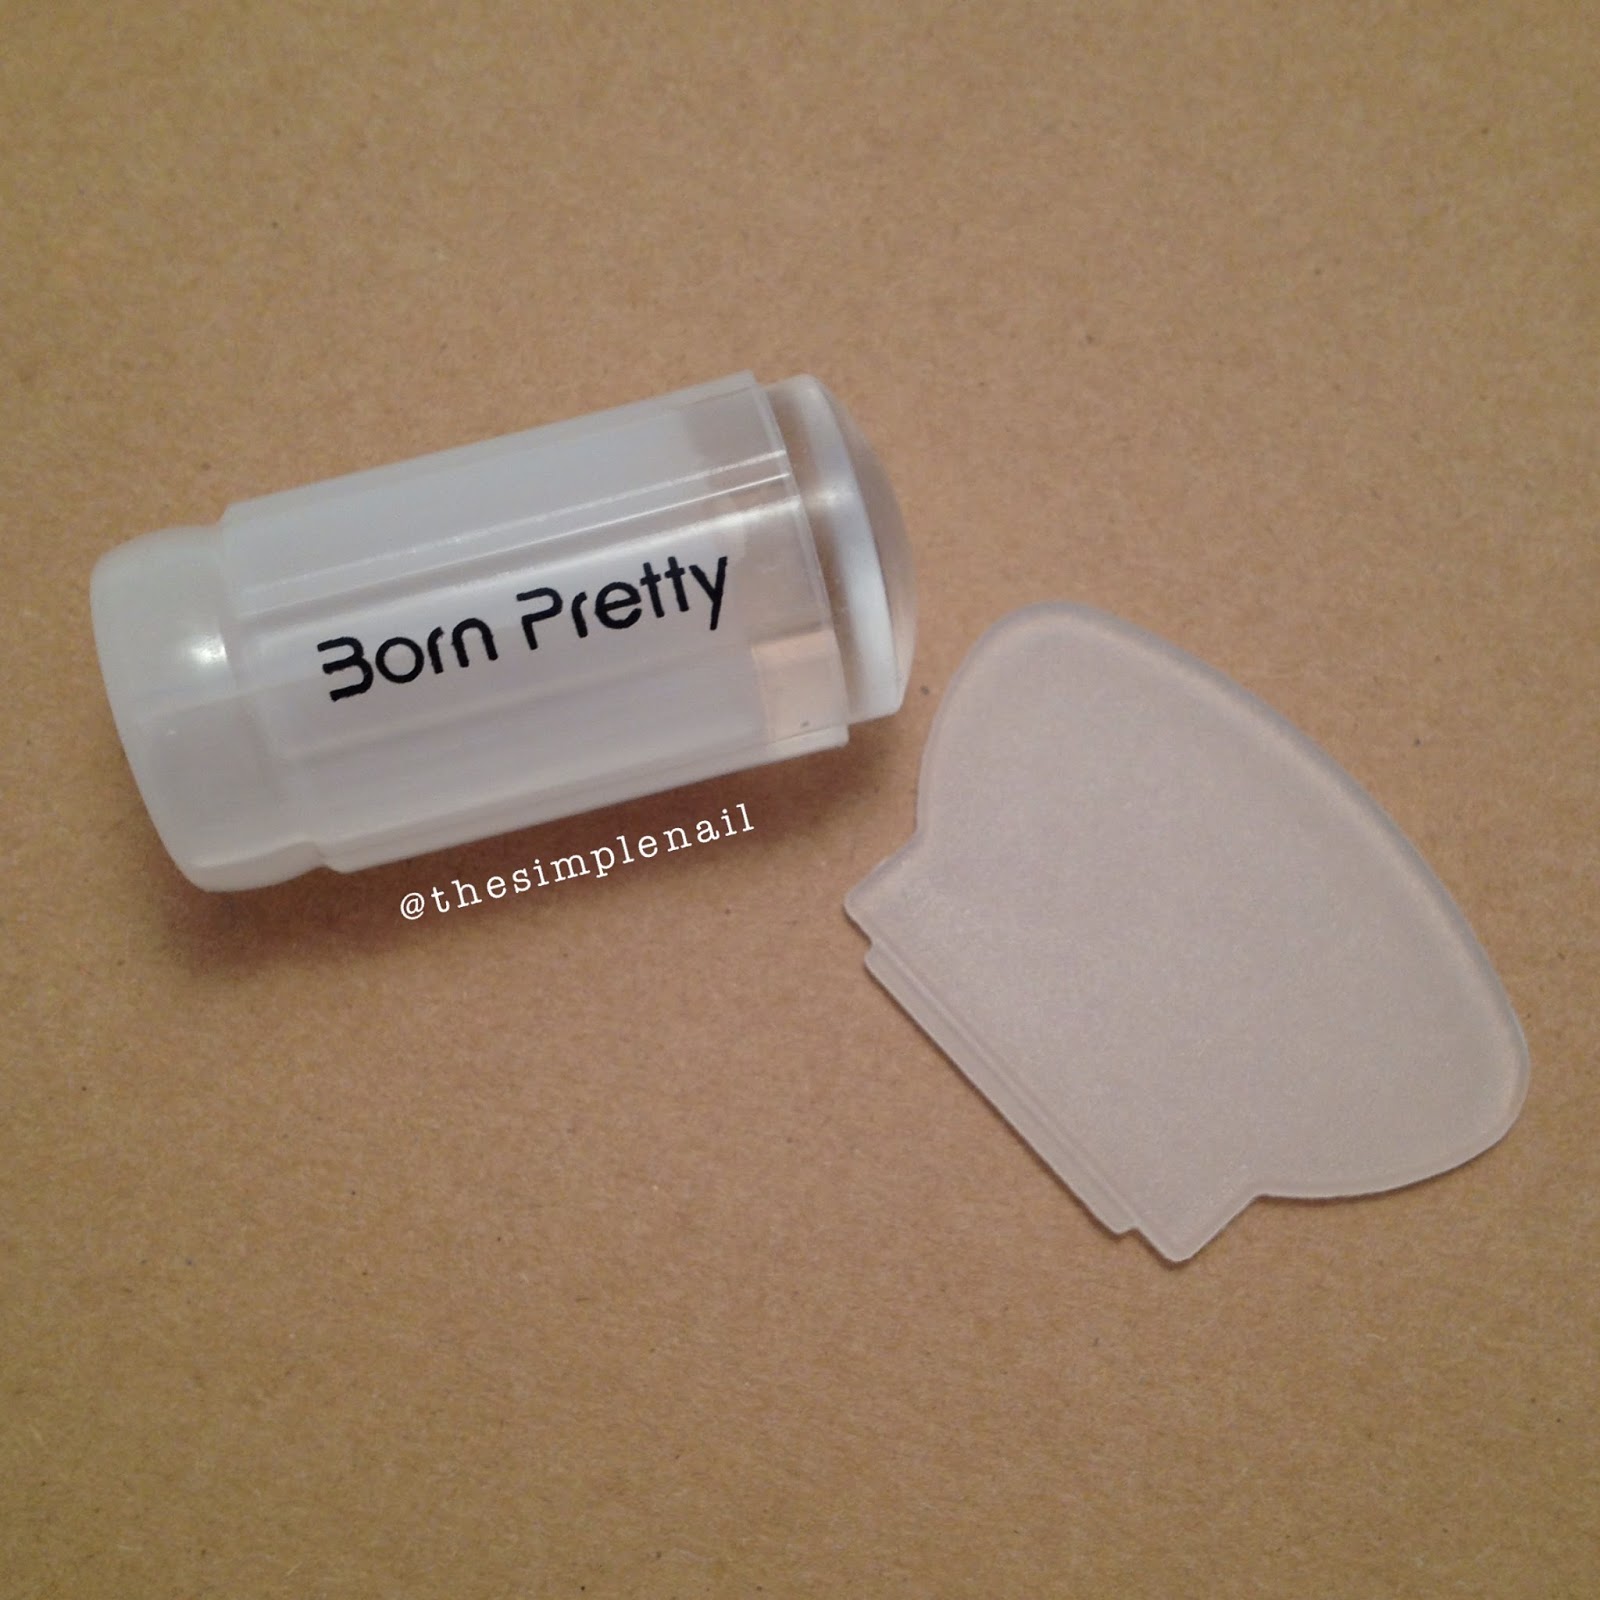
If I'm totally honest, the jelly part wasn't as clear as I was hoping for. You could definitely see through it, but it had a few tiny scratches (from the production process I'm guessing) and air bubbles in it which was a shame. But saying that, I don't think this affected it's performance in any way, as I was still very impressed with the results.


The jelly tip had a sticky texture, which meant the polish stuck to it very well, but unfortunately meant wiping it free of cotton wool fibres (after cleaning polish off) was a nightmare and virtually impossible!

The huge advantage I found with the clear stamper is that you can see exactly where you're placing the stamping design, which means avoiding that annoying 'off-centre' results I normally end up with!


I decided to use my MoYou Explorer 07 plate to test out how it transfers designs. As you can see, it transferred in some places better than others. But I'm very pleased with the overall effect!


Polishes used

I would definitely recommend this stamper set if you are wanting to try nail stamping out. It's so affordable that I don't really think you can go wrong with it!

And with free shipping, a big thumbs up to Born Pretty Store!

-

Do you guys use clear stampers? Let me know what you make of them!

Wednesday 6 July 2016

Back to basics...Dots!

Carrying on the theme of simple designs, I've gone for spots this week. I tried to go for a kind of ombré-dot effect, and I don't think I'm too far off. I'm really pleased with how they've turned out!

This really is an easy design to do...

No base colour necessary, literally all you need is a dotting tool! I used the set I got from Amazon for only £2.50. I started by doing larger dots at the tip of the nail, and made them smaller as I worked my way up the nail, almost as if they fade to nothing at the top. I don't really think it matters which order you do the colours in, but I chose the method of doing one colour at a time, starting with the darkest colour. Then I applied a top coat and that was it!

How simple is that?!

So here's what it looks like!
Disclaimer: Apologies for the awful quality picture - my iPhone let me down this week! Urghhh.


Polishes used
Dark Purple/Pink - OPI Push and Pur-pull
Dark Purple/Pink - Essie Flowerista
Light purple - Rimmel 707 Marshmallow Heaven
Light pink - Rimmel 262 Ring A Ring O'Roses
Top Coat - HK Girl (Best top coat ever!!!)

Wednesday 22 June 2016

Subtle stripes

Ok so they're not that subtle, but they are stripes!

Stripes are my go to design when I need to do some quick nail art. Not only are they super easy and super quick to do, but you can create a great striped mani with almost any colour polishes you have hanging around your room.

All I used to create this design was a white base coat, 3 polishes and a striping brush. Simples!

I really like the colour combination in this mani, especially the mix of a metallic amongst the other colours. 

Polishes used
White - OPI My Boyfriend Scales Walls
Gold - Sally Hansen Coat of Arms
Mauve - OPI Planks A Lot
Blue - Sally Hansen Please Sea Me

Hope you like it! See you next week guys!

Wednesday 15 June 2016

Why I Started Blogging

When I was in secondary school I always loved the idea of having my own business, although I was clueless to what sort of business I wanted it to be. All I knew was that I loved being creative and relished the idea of being my own boss, which is all it takes when it comes to blogging!


After learning about what a 'blog' meant in my French lessons (of all places) for a long time I still didn't know how I wanted to express my creativity. I played around with a few blogging ideas over the next few years, in the form of a travel blog and a lifestyle blog...both of which failed miserably.

It wasn't until I was studying abroad in France that I really got into blogging. I had a lot more time on my hands, which meant I had a lot more time to spend on my hands!.../nails. *punny right?*

It was during this period that I really got a chance to experiment with and practice a lot of different blogging and photographing techniques. It was during this time that I set up all of my social media accounts and gave a name to it all...

And so The Simple Nail was born.

I've come a long way in the past 3 years and still have a very long way to go. I'm really enjoying learning new things about blogging and our community as I go along!

Do you blog? Would you like to? 
Let me know below!

Tuesday 3 May 2016

DinkiBelle Nail Wraps - Review

I recently got the chance to try out some nail wraps from a lovely new brand I've never tried before,  DinkiBelle. Everybody loves a good review, so I thought I'd write one for these!

I chose this lovely marble design, which you can get a hold of here. Having recently attempted doing a free hand marble effect nail design and failing miserably, I thought these would be the perfect alternative, and they most certainly were.

Read on for more!

Sunday 1 May 2016

Nail-shape nightmare?


Can't decide what is the perfect nail shape for you? Or thinking of changing your current shape? It's a decision all us nail junkies go through at some point. In fact, quite regularly if you're anything like me!

This post will hopefully shed some light on it all; from what each shape means and how easy they are to create and maintain.

Keep reading to find out more!

Tuesday 5 April 2016

OPI Nail Envy Hawaiian Orchid - Review

If you haven't ever experienced the wonders that the original OPI Nail Envy does to your nails, then you are missing out. I've never found a base coat that even comes close to it!

Recently, I discovered that OPI's fantastic nail strengthener also comes in a few tinted shades - who knew! So I just had to try it out.

I picked it up in the form of this duo in a Mother's Day promotion on opi.com, two for one...bargain.


Onto the good stuff.....SWATCH!...